How To Remove a Bike Crank Without a Puller
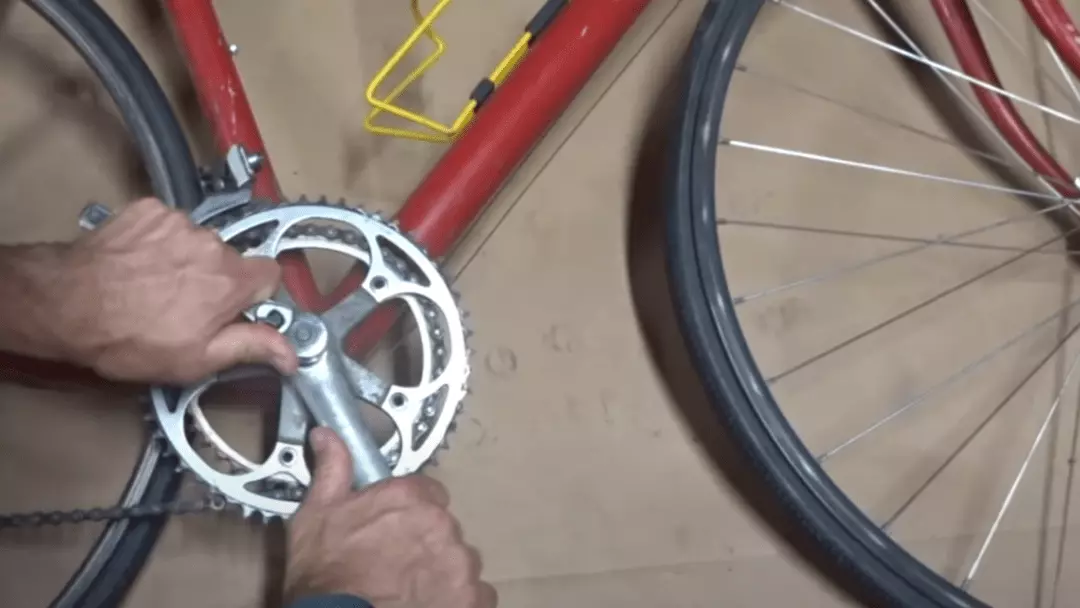
Are you looking for tips on how to remove a bike crank without a puller?
The crank is the metal frame that holds the chain in position. A damaged crank can cause slippage of the chain, so your bike will not work correctly. Also, if the crank creaks and groans as you ride, there is probably some damage. This can be due to a crank that has become worn with overuse or destruction caused by accident.
One commonly used tool to remove a bike crank is a puller. Nevertheless, this article will advise you on how to remove the crank without a puller.
What Is a Crank Puller?
A crank puller is a tool consisting of nuts and bolts. It helps to disengage the axle of the crank. The crank puller is made of aluminum and costs around 5$.
Why Should You Avoid a Puller?
A puller costs a few bucks, and you may not be ready to invest in one at the moment. It can cause damage to other delicate parts of your bike when used without professional training. You may not have a puller to hand, but you can still remove the crank yourself in case of an emergency.
Tools Required to Remove Bike Crank Without a Puller
⦁ Rags or clothes to wipe off the dirt.
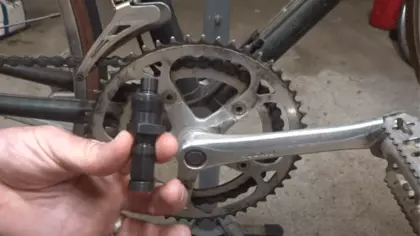
⦁ A spindle driver. This is helpful when disengaging the center spindle or axle screw of the crank.
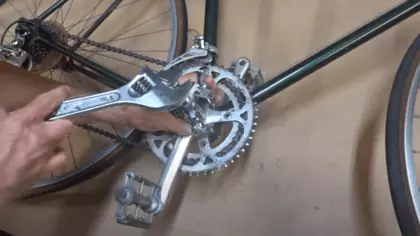
⦁ Allen keys or a universal nut opener.
⦁ Screwdrivers of size CCP-22 to open nuts of size M8 and size CCP-44 for larger nuts of M12 and M14.
Steps on How To Remove a Bike Crank Without a Puller
1. Put On Your Gloves
The first step is to protect your hands. It is essential. Dealing with bike parts with bare hands can cause injury from the edges of sprockets or any sharp extended parts of the crank.
You can use latex gloves to cover your hands. A minor bruise from rusty metal can cause a severe infection like tetanus.
2. Open The Crank Bolts
This is where the Allen key comes into play. First, unscrew the nuts or bolts and remove the washer. A washer is the small metal plate present between the nut and the bolt to fasten them tightly. It resides below the nut.
After removing everything, set them safely aside.
3. Remove The Crank with The Coupler
Remove the threads of the coupler using a hex or a tool. Take out the coupler. Do it slowly, or else it may damage the surface of the crank.
4. Open The Arms of The Bike Crank
This step may strain your arm muscles to a certain extent. You may need help with this if you are not able to do it alone. Disengage the spindle with a spindle driver by rotating it in an anticlockwise direction.
5. Remove The Crank
After disengaging the crank arm from the bike’s body, remove the crank arm. Do not use too much force, or you might hurt yourself.
Repeat for the other side of the bike crank.
6. Removing A “Self-Extracting Bike Crank”
It is effortless to remove the crank in a self-extracting crank mechanism. First, you loosen the crank bolt to use it as a puller. Then, once it is open, remove the arms of the crank followed by the crank. And that’s all. Easy-peasy right?
Frequently Asked Questions
1. How Do I Remove the Arms of a Bike Crank?
Place an Allen key inside a crank bolt, turn it in an anticlockwise direction until the crank bolt is loose. Do the same for each side of the bike, and you will remove the arms.
2. Can We Remove a Shimano Bike Crank Without a Puller?
Yes, you can. The method is similar to that of a self-extracting crank system, as we have outlined in this article.
See Also: How to remove bike cassette without special tools
Summary
A biker should know how to remove a bike crank without a puller. After that, you won’t need anything except a basic screwdriver or Allen key. This process might feel difficult the first time, but with practice, it becomes much more manageable.
Clean off the dirt on the crank system with a cloth to keep your hands clean. Additionally, always take care when dealing with heavy cranks and edged nuts and bolts.
Being a self-mechanic saves time and money, but if you are struggling to do it by yourself, visit a local bike mechanic and get it done professionally.

Steve Beck is a passionate cyclist and experienced writer covering the cycling industry for over a decade. He has a wealth of knowledge and expertise in all bike-related things, from the latest products and technologies to the best routes and trails. His articles are well-researched, informative, and engaging, and he has a talent for explaining complex cycling concepts in a way that is easy to understand. Steve can be found on the road when he’s not writing about bikes, putting his knowledge and skills to the test.

