Learn How to Remove Bike Cassette without Special Tools
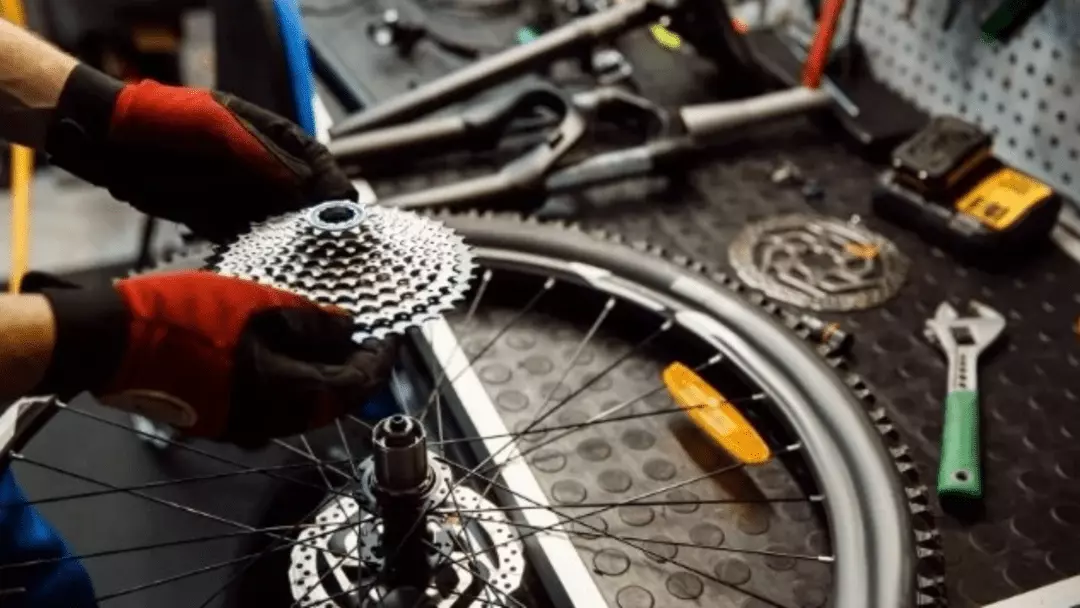
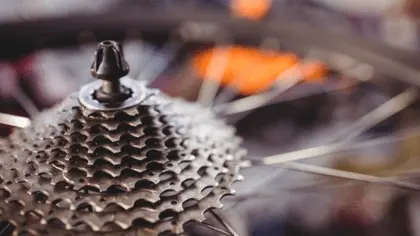
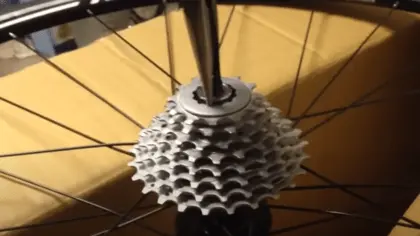
If the teeth on your cogs have worn down, or you want to change your bike’s gearing, you must remove the cassette from your bike. How many times have you gotten into trouble while removing your bike cassette? Too many, right?
Though removing the cassette from your bike is an easy task with special tools (such as a locknut tool//lockring tool, and a chain whip), it can be complicated without any special tools. But don’t worry if you don’t have those tools right now. There are ways to remove your cassette without them!
Here we will share step-by-step instructions on how to remove bike cassette without special tools. That way, you can use this handy skill whenever your nearby mechanic shop is closed or if you want to save on maintenance costs.
What Should You Know Before You Remove a Bike Cassette?
Before you remove a cassette without using any correct tool, it is good to keep in mind the following things:
Don’t Use A Pipe Wrench To Remove Your Cassette
If you don’t have the special tools in your toolkit and you need to remove the cassette immediately, do not use a pipe wrench to remove it from the bike.
If you use a pipe wrench to remove the cassette, it will badly damage your cog teeth; if your cog teeth get damaged, you will not have an optimal gear shift.
For the sake of your cassette’s lifespan, do not use a harsh tool like a pipe wrench to remove your cassette. Instead, use a tool like nose pliers to remove it from your bike without any severe potential damage.
It Is Best To Know The Exact Type Of Your Bike’s Cassette
Aside from standard cleaning, you may need to remove a cassette for replacement. When your cassette’s teeth get badly damaged, you need to replace the cassette to get the optimum gear-shifting experience.
But it is important to know what type of cassette your bike comes with when you do that. Bike cassettes are not interchangeable, meaning that you cannot set a differently-sized cassette on a differently-sized hub.
You have to replace your old cassette with a new one of the same size. Knowing the size of your cassette can save you tons of money!
Go to Your Nearby Bike Maintenance Shop If You Don’t Understand the Process
It is best to go to the local bike shop immediately if you don’t understand the steps or don’t have the tools for replacing your cassette.
If you don’t understand the steps, then you will not be able to follow them, and if you don’t follow the steps, it could damage your cassette. We will discuss these steps later in this article.
If you doubt your ability to remove the cassette, going to a nearby bike shop or calling another expert in this field will be the best way to remove and reinstall the cassette. Do not risk damaging your bike while trying to fix it.
How to Remove Bike Cassette Without Special Tools – 4 Steps
The best way to remove the cassette without any expensive tools would be to use a pair of needle-nose pliers. Here are steps you can follow to remove your bike cassette with a pair of needle-nose pliers:
Required Tools
For this method, you will need two needle-nose pliers, a bike chainset, and hand gloves (for safety). Once you have these tools, we can start the process:
Step 1: Get Your Bike Ready
To begin the process, you will have to remove the rear wheel from your bike and arrange the two needle nose pliers and a piece of bike chainset with you.
After doing those, sit on a chair and stand the wheel on a wall so that you can do the process with ease. You can wear hand gloves to protect your hand from an unwanted accident.
Step 2: Insert the Pliers into the Lockring and Try to Loosen It
Once you have done step one, put the needle-nose pliers into the grooves of the lockring, which is responsible for attaching the cassette to the hub.
Now you have to turn the cassette lockring to loosen it, then remove the cassette. But the freewheel cassette lockring system will not let you do that with just one pair of needle pliers.
Therefore you need another needle nose pliers and a bike chainset. You can use your existing chain, or you can use an old chainset.
Step: 3: Hold the Cassette and Loosen the Lockring Slowly
When you are ready with the equipment, take your chain, put your foot on the chain down on the ground, wrap it around the large sprocket and make sure the wheel turns up against your foot.
Stick your pliers into the grooves and take your other pair of pliers to give it a turn to loosen the lockring. When you get your first turn with two-needle pliers, keep turning the lockring slowly until you completely loosen the lockring.
Step 4: Remove the Cassette Carefully
Once you have loosened the lockring, free it from the cassette. You are now done with the process. Remove the cassette from the hub carefully.
Once you have successfully removed the cassette from your bike, make sure you follow the same process to tighten the lockring and reinstall it properly as you did to remove it.
We hope that you will follow the steps carefully and can remove your bike cassette without using special tools like a chain whip and a cassette lockring removal tool.
How to Clean Your Bike Cassette at Home
It is very important to clean your bike cassette after some time. Cleaning it often will provide you with a smooth riding experience. Here are some simple steps you can follow in cleaning your bike cassette at home:
Required Tools
To clean your cassette at home, you will need an old rag (such as an old t-shirt) and some pipe cleaners. Then you can proceed with the following steps:
Step 1. Take off the Rear Wheel
Once you have removed the rear wheel, sit on a chair, take the wheel with you, and put it in between your legs. Make sure bike tire is clean. Although this step is optional, removing the back wheel from the bike will give you a better result.
Step 2. Begin by Cleaning with a Rag
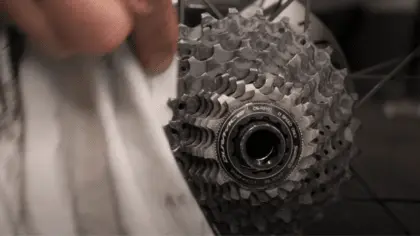
Once you are holding the wheel in between your legs, use your rag and place it between the gaps of a couple of the sprockets.
The process is simple: all you need to do is grab your rag tightly, put it in between the sprockets, and go backward and forwards.
By doing this, you are removing rubbish from the cassette. Go through every sprocket gap and repeat the process until you end up with a clean cassette.
Here’s a quick tip: start at one end of the cassette rather than in the middle. This will let you know which gaps you have already cleaned, allowing you to work towards the other end.
Step 3. Use the Pipe Cleaners to Clean Again
So, after cleaning your cassette with an old -shirt, use a pipe cleaner to clean it thoroughly.
Remember how you cleaned with your rag? Repeat the process with a pipe cleaner. This will let you get rid of some more grime. Clean all the sprocket gaps with the pipe cleaner until you clean every gap.
Step 4. Clean the Gaps of the Teeth
If you’ve made it this far, your cassette is almost done with the cleaning process. At the last stage, you will need to clean all the gaps between each tooth of the cog.
To do that, put a clean pipe cleaner into the two gaps. Go through all the teeth gaps and clean all the dirt out of there.
If you like, you can apply a little bit of degreaser on the cassette before and after cleaning. You can also use some lubricants to get optimum performance.
Also Read: Best bike chain degreaser
Frequently Asked Questions
If you have any more questions, we have a list here that may clear up some of your doubts:
What Is the Difference between a Bicycle Freewheel and a Cassette?
The main differences between a freewheel and a cassette are the ways they spin and are attached to the hub. A freewheel is a single unit of sprockets that contains the spinning portion attached to the freewheel itself.
The cassette, however, is a modern gearing system that contains a bunch of sprockets, but it does not contain the spinning part within it. In a cassette, the spinning part is attached to the hub.
How Do I Know If My Cassette Needs Replacing?
If you are having trouble shifting gears, then you should check your bike’s chain and cassette and change the parts as needed. In most cases, an old chain is responsible for the potential damage to the cassette.
When you see that your cassette’s cogs are worn out and cannot hold the chain as they should, then you must replace your bike’s cassette.
How Often Should I Clean My Bike Cassette?
It depends on how quickly your rear cassette gets dirty. If you are a casual biker, you don’t need to clean your cassette daily. You can clean your cassette every month.
But if you are a mountain biker or a dirt biker, then you must clean your cassette every week, if not daily. When you ride on a muddy road, your cassette absorbs rubbish so quickly that it decreases your bike’s performance.
Final Words
The cassette is important for the performance of a multi-gear derailleur. It provides a wide range of gear shifting options for the chain. Being able to maintain the cassette yourself is a handy skill if you want to take care of your bike and keep it in top condition.
In this discussion, we taught you how to remove bike cassette without special tools (like the chain whip and lockring tool) so that you can implement those techniques at home and save some maintenance costs.
But be careful! A small mistake can cause massive damage to your cassette. We hope that you will follow the instructions carefully and will be able to remove a cassette without using special tools.

Steve Beck is a passionate cyclist and experienced writer covering the cycling industry for over a decade. He has a wealth of knowledge and expertise in all bike-related things, from the latest products and technologies to the best routes and trails. His articles are well-researched, informative, and engaging, and he has a talent for explaining complex cycling concepts in a way that is easy to understand. Steve can be found on the road when he’s not writing about bikes, putting his knowledge and skills to the test.


