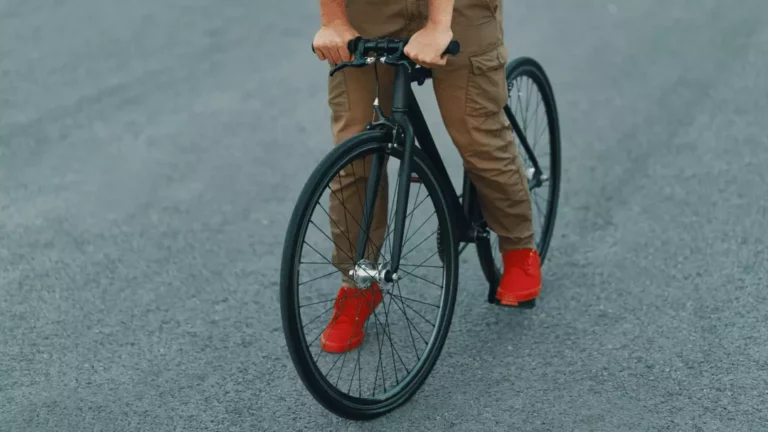
Can You Ride a Bike with a Flat Tire?
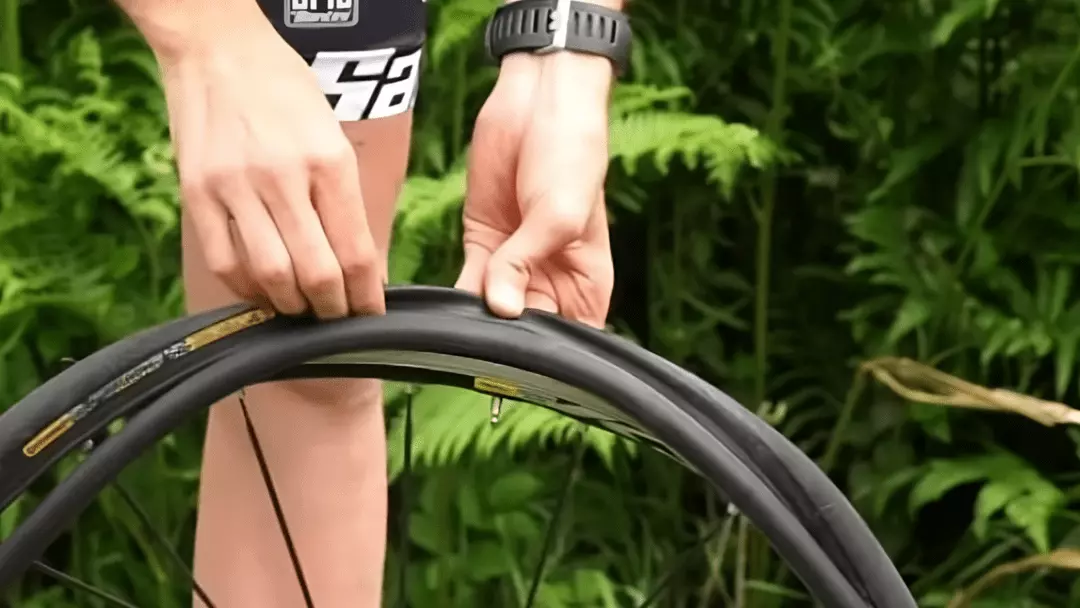
Imagine going on a long, scenic ride with your partner only to find out your tires have gone flat midway. Bummer, isn’t it?
Wouldn’t it be absolutely splendid if you could just continue riding with flat tires? That would literally slash half of a biker’s life problems.
This really does raise a question in our maverick minds: Can you ride a bike with a flat tire?
Here, we will take a deep dive into the realm of biking to hopefully answer this question and also find a few methods to help prevent your bike tires from going flat.
Related Article: Bike tire keeps going flat but no puncture
Why Can’t We Just Have Solid Tires?
Since tire punctures happen so often, it’s only human to wonder why companies don’t eliminate air-filled tires completely. Well, there are many reasons for this.
Gases can easily take the shape of tires. This means no matter how many rocks and bumps your wheels run over, your tire will absorb most of that impact, giving you a smooth ride.
Secondly, the air is virtually weightless. So, filling your tires with air rather than rubber would be a great way to cut extra weight from your bicycle, hence making it lighter.
Also, think about it from the standpoint of a bicycle manufacturer. To make a solid tire filled entirely with rubber would be so much more expensive than manufacturing a hollow rubber tire filled with air. Producing totally solid tires may not be very cost-effective after all!
Is Your Tire Punctured?
There are a few ways to identify a flat tire (or a soon-to-be flat tire).
A nicely filled tire makes your bicycle feel faster; this, indeed, is because well-filled tires do ride faster as opposed to flat tires.
So, if your bicycle ever feels slightly slower than usual, it may mean one of the two things: (1) your bike tire is punctured (meaning you have a flat tire); (2) your tire needs refilling.
A flat tire feels knobby. When riding with a flat tire, your smooth ride will be accompanied by bumps, and, in the worst-case scenario, your bike rims will screech when making a turn.
Usually, when a tire goes flat, the inner tube still remains intact; that is unless you continue riding with a flat tire. This is why we always recommend you stop riding your bike as soon as you feel the first bumps indicating a flat tire.
Distinguishing Between Flat Tires
Sometimes tires just lose gas over time, while, at other times, the outer layer gets damaged (leaving the inner tube unharmed). If you’re very unlucky, however, sometimes the inner tube gets punctured, in which case it requires replacing.
Below, we discuss a few types of flats, so you instantly know what needs to be done next. Here are some reasons behind your bike’s flat tire:
Type 1: Pinch Cuts
As a result of pinch cuts, flat tires are a rare occurrence, but that doesn’t mean you don’t need to know about them.
Pinch cuts happen when a sharp edge, curb, or stone hits your tire hard enough for your inner tube to get pinched between the curb edge and your bike rim. This creates a cut or a hole in the inner tube, hence releasing air.
Pinch cuts are commonly known as “snake bites” for how similar it is to wounds created by a snake’s fangs.
More often than not, pinch cuts don’t ruin tires; they only damage the inner tube, which can be mended. However, bad impacts with sharp stones/edges may sometimes (though rarely) ruin both tires and inner tubes and, if you’re unfortunate enough, can also create a dent on the rims.
Type 2: Slow Leaks
Air molecules are tiny. They can escape through the small pores and cracks on your rubber tires, resulting in a flat bike tire. A flat tire that happens over time is very normal, and there’s nothing for you to worry about.
Slow leaks, on the other hand, are actual leaks that let the air out slower than punctures. Though it’s possible to ride your bike for a few miles with a slow leak, it’s advised not to let your tire completely flatten out.
This type of leak occurs due to small punctures, which can sometimes be very tough to detect. As a result, many cyclists prefer replacing their flat bike tire (or installing a new tube) when affected by slow leaks.
Type 3: Blowouts
In simple words, a blowout is an explosion that happens when the pressure inside a tire/tube builds up to a point where the rubber snaps, letting out a sudden gust of air accompanied by a loud bang. Flat tires caused by a blowout mostly end up going totally flat.
After a blowout, you’ll most certainly not be able to continue riding your bike before fixing it. Patches usually don’t work on blown-out, flat tires, which means your flat bicycle tire needs to get replaced before further use.
Type 4: Punctures
This happens when sharp objects like nails, shards of glass or thorns poke into your bike tire, causing a hole (which, in turn, results in a flat bicycle tire). Typically, punctures formed by short nails only puncture your tire, which doesn’t matter quite as much.
However, sharp and long objects can cause great damage if they can poke holes through tires and into bicycle inner tubes.
To fix a puncture, you should first remove the sharp object from your flat tire and then patch or replace it, depending on how bad the puncture is.
Type 5: Burping
If you use a tubeless tire, you’re more likely to face this problem. Burping happens when air escapes from tires when it loses its seal.
Cornering and hand landings are among the main reasons behind burping. What’s interesting is that tires don’t lose air completely due to burping. Rather, partial air is lost (unless there’s a blowout).
Fixing a Flat Tire on the Road
Since you now know about the various reasons that may be behind your bike’s flat tire, let’s learn how you can fix them.
Detecting the Problem
First, you have to understand why your tire has gone flat.
Sometimes, your tire deflates over time, which is very normal for healthy tires, or, at other times, your tire may have been punctured by a sharp object. It’s important to first detect the problem before seeking a solution.
Patching the Leak
In case of a small puncture or a slow leak, you shouldn’t need to replace your tube/tire. If your two-wheeler has an internal hub gear or a brake reaction arm, patching its inner tube won’t be too tough. All you’ll need to do is to remove a single side of the flat tire from the rim.
When patching a slow leak without removing the tire, your greatest challenge will be to slip the airless tube through the rim brake’s shoes, given that you’re unable to loosen the brake.
Replacing the Inner Tube
Having one or two spare tubes in your backpack can help you at times of emergency. If your leak/tear is too bad to patch, you’ll need to replace the inner tube.
It’s impossible to remove the inner tube without detaching the wheels. So, let’s first learn how to remove the wheels.
Related Article: Best bike tubes
Removing the Wheel
Here’s how you can remove the front wheel of a bicycle:
Bike manufacturers use nuts to fasten your bike wheels. This means, to unfasten a wheel, you’ll need to first loosen the nuts. To do this, you’ll need a wrench.
Although pliers also get the job done when loosening nuts, you’ll surely struggle when tightening them. Also, if you put too much pressure on the nuts when tightening them (using pliers), you’ll risk damaging them.
Once you open the nuts, make sure you store them in a safe place. If, however, you think you’re too careless to keep the nuts safe, here’s a pro tip: don’t open the nuts. Just loosen them, and leave them on the axles.
You’ll find a skewer inside your quick-release axle. This skewer holds the wheel in place using a cam mechanism. You first loosen the wheel by flipping it over.
Next, pull out the handle that operates the skewer and loosen the quick-release skewer until you’re able to get the wheel out.
A few newer bicycle models use holes instead. Here, the wheel is secured through the axle, which has a handle that requires spinning around to loosen.
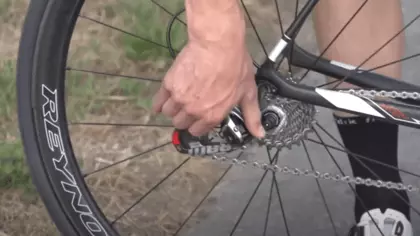
If, however, your rear wheel has gone flat and requires removing, consider yourself in a hot mess. Removing the rear wheel is twice as complicated as removing the front wheel.
How Can You Remove the Rear Wheel: 4 Ways
If your bike uses Derailer Gears, here’s a trick for you: before you begin, make sure your gear is set at the smallest rear sprocket. This will make the process much easier for you.
Begin by loosening the nuts. It’s best to stand to the left of your bicycle while working. Lift your bicycle with one hand, while pulling the rear derailer (upper part) backward. This results in a pulley swinging down, and the wheel should fall right out.
To avoid damaging the derailer, lay your bicycle down, so there’s no pressure acting on it.
Removing the Tire
Once your wheel has been removed, try to find the hole or crack that air is escaping through. If you’re lucky, you’ll find the cause of flattening, saving you some time.
Before removing the tire, make sure all the air inside it is let out. You can ensure this using a Schrader valve, a Presta valve, or a Woods valve to completely unscrew the air valve, hence letting the tire depress quickly.
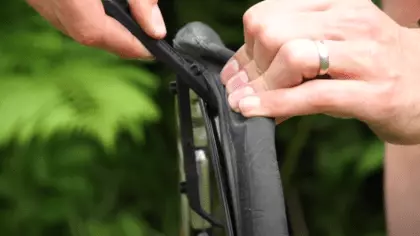
Now you’ll want to take the tire off the rim. To do this, you need to pull off the bead from the center of the rim. A bead is the Steel/Kevlar loop between your tire and the rim. Beads are present on both sides, so make sure you pull them both off.
Once you have successfully opened one part of the tire, pull out the inner tube. Now you’re ready for inspection.
Inspecting the Hole
In step 1, you detected the problem, which helped you determine your way forward. In this step, you’ll look closely into the hole that’s causing the air to escape. If there’s a nail or a sharp object stuck to the tire/tube, make sure it’s removed.
Upon close inspection, if you find two holes, then the flat tire must be the result of a pinch cut. Slow leaks happen from tiny holes in the Schrader valve or very small holes on the inside of the tube.
Leaks in the Schrader valve can easily be fixed by replacing the core of the valve, while small holes can be patched using a patching kit.
Patching a Hole
You wouldn’t want to be patching a hole in the tube on the side of the road. So it’s best to do so when you get back home. If you happen to have a spare inner tube, install that for the time being.
If, however, you don’t have a spare tube (or your tire condition isn’t so bad), you can use a glueless patch. However, note that glueless patches are only temporary, on-the-road solutions and should not be used for long-term fixes.
Once you reach home, make sure you replace the glueless patch with a more reliable one. Rubber patches that stick to the tube using cement are our favorite. They’re durable, and reliable, and the rubber can stretch!
To patch a punctured tire, follow these steps:
Step 1
Choose the right patch from the repair kit for the puncture. Ideally, a patch should be large enough to cover at least .4 inches from the perimeter of the whole.
Step 2
Try sanding the tube around the area of the hole until the tube is so longer shiny. To do this, you can either use sandpaper or just sand it on the concrete of your pavement (or any road surface).
Step 3
Apply a thin layer of cement around the sanded area, and allow it to dry completely. One way to ensure that the cement has dried is by checking its shininess. The cement looks more matte as it dries.
Step 4
Remove the foil from the patch and firmly press the patch onto the cement, making sure no air gets trapped beneath.
Putting back the tire
Since you’re fixing a flat tire on the side of a road, you aren’t supposed to have tire levers. Though such a tool would help, it’s still possible to reinstall a tire using bare hands.
Firstly, try pushing the inner tube’s valve into the valve hole and secure it. This will leave the tube hanging down one side since it’s stuck to the valve. One side at a time, work your way around the rim, trying to tuck the tire toward the center of the rim.
Install the bead to secure the tire, and then inflate the tires. Frame pumps and mini pumps are most common for inflating tires on the go.
This marks the end of your roadside flat tire repair! Just install the wheels back on, tighten the nuts, and you’re good to go!
Also Read: Bike tire won’t inflate
How to Avoid Flat Tires?
To avoid a flat tire, ensure your tire’s air pressure is set perfectly. An overinflated tire is just as bad as an underinflated one. Extremely high pressure can cause blowouts, and not having enough air in tires can cause pinch cuts (in most cases).
In addition, choosing the right tire also affects the durability of a tire. If you want your tire to last longer before it goes flat, spend a few extra bucks to buy a high-quality tire.
Final Verdict
So… can you ride a bike with a flat tire? Having read through the entire guide, we think you already know the answer, but we will still address it.
If your tire has a slow leak, you can ride your bike a few miles before it goes completely flat and requires refilling. However, we strongly discourage this, since it will not only further damage your tire but can also deform your rim.
In case of punctures or snake bites, you can’t really ride your bike before repairing it, since your bike tire will be losing air very fast.
If you follow the procedure shown above, we’re confident that you’ll easily be able to fix a flat tire on the road without having to return home. Hopefully, you won’t have to make a stop on your scenic bike ride because of a sharp stone or a nail.

Steve Beck is a passionate cyclist and experienced writer covering the cycling industry for over a decade. He has a wealth of knowledge and expertise in all bike-related things, from the latest products and technologies to the best routes and trails. His articles are well-researched, informative, and engaging, and he has a talent for explaining complex cycling concepts in a way that is easy to understand. Steve can be found on the road when he’s not writing about bikes, putting his knowledge and skills to the test.

