How To Clean Your Bike – The Detailed Guide
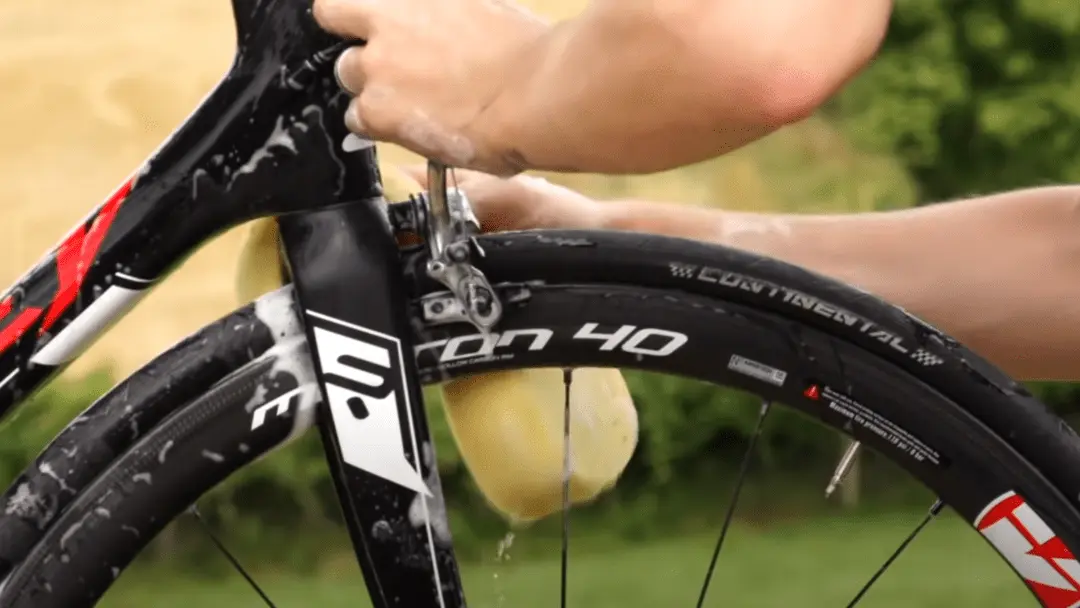
You love your bike, but admit it: cleaning it can sometimes feel like a mission, especially after you’ve come back from biting into rugged or muddy terrain with it.
But, there are important reasons why you should clean your bike regularly.
What happens to your bike if you don’t clean it?
There are nasty consequences that can happen if you don’t clean your bike on a regular basis. Its parts can start to corrode from the accumulation of dirt and some components could stop working!
So, not cleaning your bike can cause it to suffer negative effects, both in how it looks and how it works.
Luckily, you really don’t have to spend a lot of time cleaning your bike – you can do it in half an hour or less once you know exactly what steps to follow.
Here’s a detailed guide on how to clean your bike.
Step One: Prepare The Items You Need
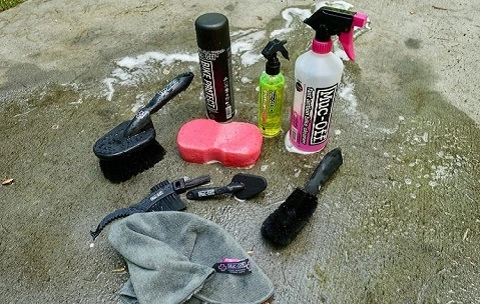
Prepare these items for the next time you need to clean your bike.
The bonus?
By having everything ready, you’ll feel so much more up to the task after a fun day of riding.
What You’ll Need
- Sponges
- Stiff brushes
- Softer brushes
- Flat-head screwdriver
- Bucket of water
- Bucket of soapy water (dish soap works fine)
- Bike cleaning spray
- Degreaser
- Old toothbrush
- Cloth
- Bike stand (optional but great if you have one)
Step Two: Dress The Part

Make sure you wear old clothes that you don’t mind getting dirty.
Wearing a pair of disposable gloves is also a good idea to prevent grease and grime from getting under your nails and being a hassle to clean off later.
After cleaning your bike, you really don’t want to spend time washing your good jeans or scrubbing your hands.
Step Three: Remove The Bike’s Wheels
Now that you’re dressed for the task, you can start the process of cleaning your bike by removing its wheels.
You’ll want to do this so that it’s much easier to get to all the bike’s components and move them around without a hassle.
Step Four: Elevate Your Bike
Raise the bike off the ground so you can reach all its components.
If you have a bike stand, that’s great. If you don’t, you’ll have to turn the bike over on its seat and handlebars and rest it on the ground in this way.
Make sure you’ve got a towel underneath the bike so you don’t scratch or damage any of its parts.
Step Five: Use More Than One Sponge
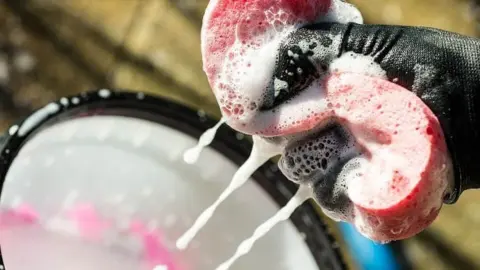
In the earlier “what you need” section, we mentioned that you need sponges, not just one sponge.
This will make the process of cleaning your bike so much easier because it designates different sponges to different parts of your bike.
For example, you should have one sponge for cleaning the frame and then another sponge for all the greasier components, such as the crankset and chain.
This will prevent dirt from being transferred from one part of the bike to another, while also preventing you from taking up lots of time cleaning sponges in between the process of cleaning your bike.
Use brushes on areas where a sponge might not get to, or if there are sharp parts that could damage the sponge. If you’re battling to clean some parts of your bike with a sponge, you can use a soapy brush instead.
This might be best for areas such as around your brakes, underneath the fork, and behind the crankset, as it’ll make your life easier.
Step Six: Wash The Bike Frame
Now’s not the time to grab a high-pressure hose and splash your bike with a powerful force of water – this can push water into the bike’s bearings.
Instead, opt for the gentle route by wiping the bike’s frame down with water and a sponge.
Although it might be tempting to dump your bike parts into the water and submerge them in it to deep-clean them, this is also a bad idea because water could sneak into places where it wasn’t supposed to, causing damage.
Step Seven: Use A Bike Cleaning Product
You can’t just clean your bike’s frame with kitchen detergent – in fact, that’s a really bad idea because it can cause scratches on the paintwork and even result in its beautiful colors fading.
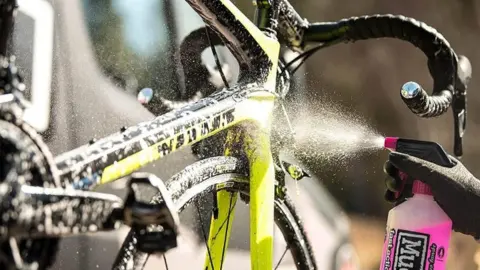
So, get your hands on a bike cleaning product like Muc-Off Mox-904 Nano Tech Bike Cleaner (available from Amazon).
It’s perfect for all types of bikes and will eliminate dirt while protecting your bike’s paintwork. Follow the product instructions when using it on your bike.
Step Eight: Clean The Brakes
Now that you’ve cleaned the frame, you can move on to other bike components.
If your bike has caliper brakes, you’ll want to use a sponge’s rougher side to remove any dirt that’s accumulated on them.
On the other hand, to clean disc brakes, you’ll want to wipe them down with the softer side of your sponge. If you have standard brakes instead of discs, you can scrub the rims.
Focus on the sidewalls because these are basically your braking surfaces, so you want them to be clean so they can grip the ground effectively.
Step Nine: Use Degreaser On The Drivetrain
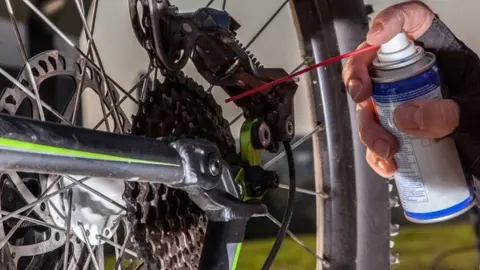
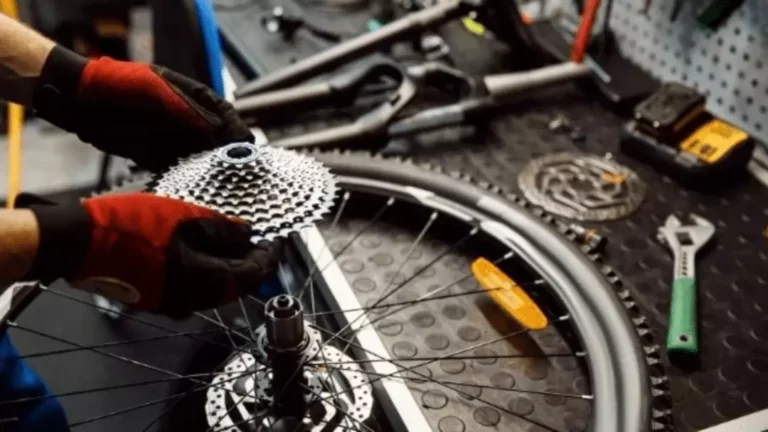
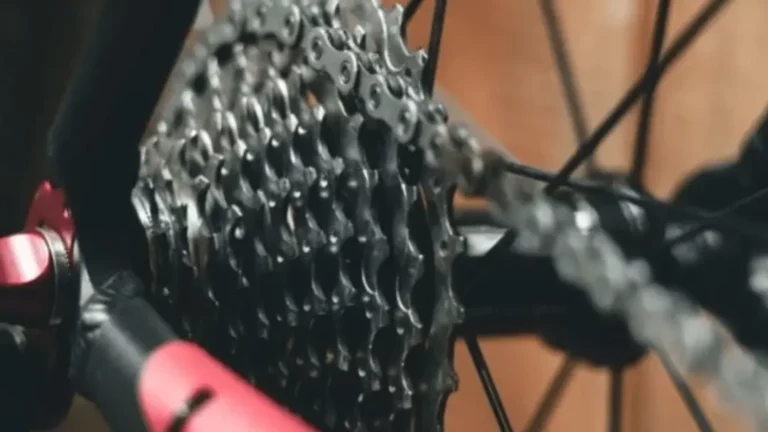
Go ahead and use a degreaser that’s suitable for bikes on the cassette, chain, chainrings, and derailleurs.
You should let the degreaser work for about five minutes before washing it off.
Note: never use a degreaser on parts such as the rotors or brake calipers if you have disc brakes because it can cause the brakes to squeak.
White Lightening Clean Streak degreaser is an effective product to use on your bike. It eliminates stubborn dirt while drying quickly.
Step Ten: Wash The Drivetrain
You can also clean your drivetrain by scrubbing the chainrings with a stiff-bristled brush that has been dipped into a bucket of soapy water (dish soap is fine).
An old toothbrush works well to reach tiny places around the rings and pulleys.
Use a slow stream of water to wash it off. This might be enough without requiring the use of the degreaser if your bike’s not that dirty.
Step Eleven: Clean The Chain
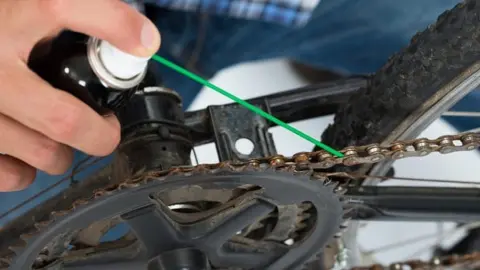
Your bike chain can get pretty grimy so you want to clean it with your trusty degreasing product.
Turn the bike’s cranks backward to enable you to reach all the links. After about 10 minutes, rinse the chain with a slow stream of water.
RELATED: How To Remove A Bike Crank Without A Puller
Step Twelve: Clean The Derailleurs
To get these clean, you should spray a degreasing product on both the front and rear derailleurs, without soaking them too much as that can pull grease from within the pivots.
Once you’ve done that, use a stiff brush to clean off the dirt that’s accumulated inside the cages.
If you haven’t cleaned your bike in a long time, you might see that the jockey wheels are covered in grime. A flat-head screwdriver can help you here to remove as much dirt as you can, then just wipe away excess dirt with an old cloth.
Step Thirteen: Wash The Wheels
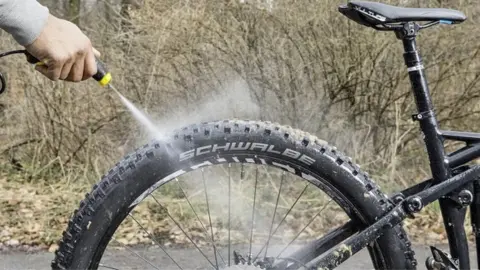
For the wheels of your bike, you want to use larger and softer brushes so that you can clean all over their surface easily.
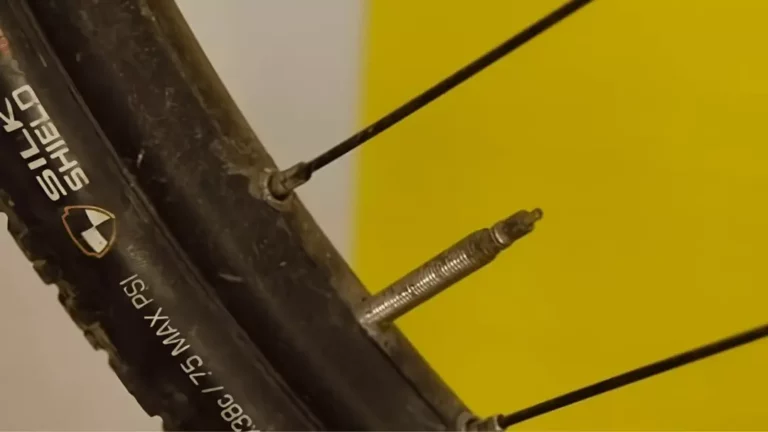
Dip these brushes into the soapy water and, starting from the bike valve, scrub around the wheel, the spokes, and the hub, and then repeat on the other side of the wheel. Rinse with water.
The bonus of washing your tires with soapy water is that if there are any holes in your tires you’ll see them by how the water creates bubbles.
It’s therefore much easier to do maintenance on your bike when it’s sparkly clean than when it’s covered in dirt.
Step Fourteen: Put Your Wheels Back On
Now you’re ready to put the wheels back onto your bike. It’s a good idea to turn the cranks to be sure that your drivetrain is fine and everything is running well.
Step Fifteen: Dry Your Bike Well
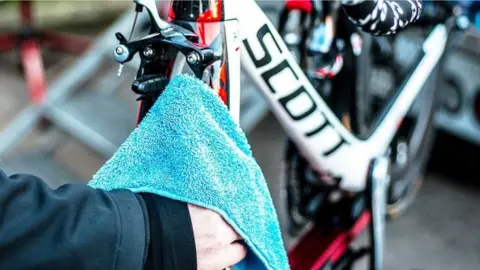
Use a dry cloth to wipe down all the bike’s components.
You can also leave the bike somewhere safe to let it air-dry, but whichever method of drying you choose, make sure there’s not a drop of water anywhere on your bike because you don’t want to have to deal with rust issues.
Step Sixteen: Add Oil To The Chain
Once the bike has dried properly, don’t forget to lubricate the chain.
This should be done regularly, especially if you use your bike several times a week, so make sure you finish cleaning the chain by using good oil.
Try Squirt Chain Lube that’s suitable for all bikes.
You’ll also do well to lubricate the pivots on the rear and front derailleurs as this will prevent them from sticking and resulting in poor shifting.
RELATED: How To Prevent And Adjust Chain Rubs On Front Derailleur
How Often Should You Clean Your Bike?
Now, the question is, how often should you deep-clean your bicycle?
This really depends on what your bike is used for. If you regularly take it out in the mud or dirt, you will probably have to clean it more regularly than if you use your bike on city roads.
So, mountain bikes and cyclocross bikes are examples of bikes that will need to be washed off regularly.
It’s a good idea to check your bike regularly after rides to see if it’s starting to accumulate dirt and dust. That’s a sign that you should whip out your sponges and soapy water and get scrubbing!
When it comes to road bikes, you should aim to clean them at least once every 20 or so ride.
However, this number might be less if you use your road bike for long commutes regularly. Cleaning it, even if it doesn’t look particularly dirty, will ensure that its components continue to work well because it prevents grit build-up.
No matter what type of bike you have, always make sure that you regularly maintain it, such as by checking its chain and other components after it’s cleaned.
If you’ve gone on a few long rides with your bike, then it’s time to clean your chain (even if you don’t clean the entire bike) afterward to ensure that everything will work in the way it should, and don’t forget to lubricate the chain afterwards.
Related Questions
1. Do You Clean All Bikes In The Same Way?
It doesn’t matter what type of bike you have, you can go ahead and clean it by following the same instructions as those we’ve outlined in this step-by-step guide.
2. What Bike Parts Shouldn’t Get Wet?
It’s a good idea to cover any leather components on your bike, such as grips or bottle holders, with an item like a cloth. However, if your bike has electronic parts, such as a battery, these are fine to get wet.
Conclusion
Cleaning your bike might sound like a hassle you’d rather avoid for another day, especially if it’s particularly dirty, but it really doesn’t have to be a stressful or time-consuming experience – as long as you know what you’re doing and how to go about it.
In this article, we’ve guided you step by step to help you clean your bike from top to bottom, and we’ve also included some of the best products you need to make your cleaning session a success.
Once you’ve prepared all the items you need, you can get started with cleaning your bike in a no-fuss, no-stress way.
Then, you know what’s next, right?
Time to get back on your bike and make it dirty again!

Steve Beck is a passionate cyclist and experienced writer covering the cycling industry for over a decade. He has a wealth of knowledge and expertise in all bike-related things, from the latest products and technologies to the best routes and trails. His articles are well-researched, informative, and engaging, and he has a talent for explaining complex cycling concepts in a way that is easy to understand. Steve can be found on the road when he’s not writing about bikes, putting his knowledge and skills to the test.

