InvisiFRAME Vs RideWrap: Which Is Better Bike Wrap?
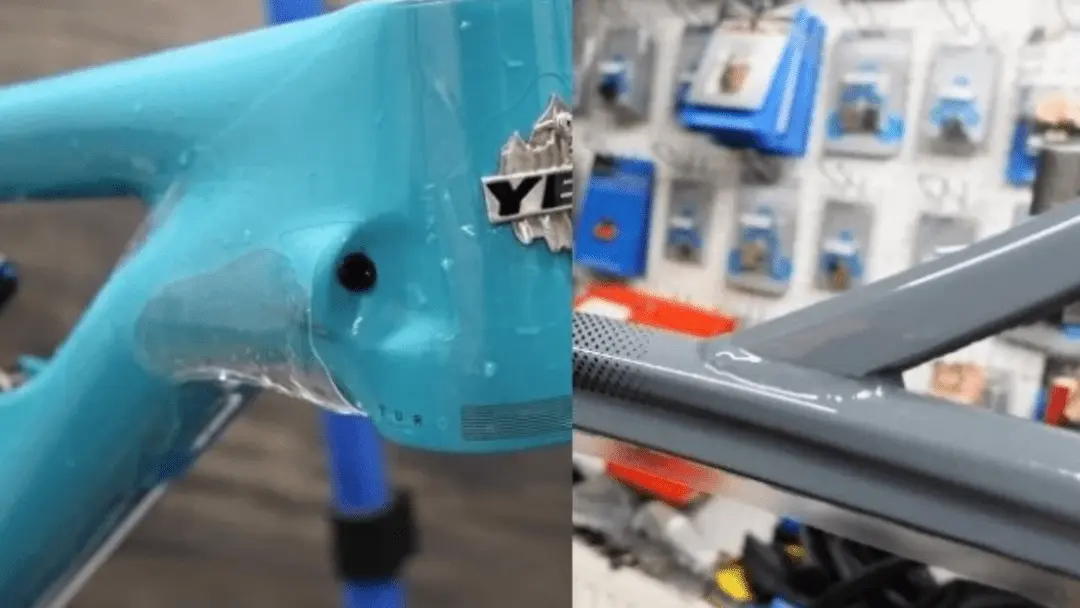
When it comes to your precious bicycle, you’ll want to protect it against all harm however you can. If you own a mountain bike, you know how expensive they are. But, if you were to crash on your bike, it’d be much more costly.
That means you need to keep your bike protected from scrapes and dents using a bike wrap. It’s becoming more and more important for riders to use frame protection options like bike wraps.
There are many brands of bike wraps, but we will focus on two: InvisiFRAME and RideWrap. Read the rest of the article if you need to choose between InvisiFRAME vs Ride Wrap.
InvisiFRAME Vs RideWrap: In-depth Comparison
There are some similarities between the two brands as they are both bike frame wraps. But, there are some distinct differences between them that I’m going to talk about now.
Cost
With RideWrap kits, you get to decide from 4 different options for your bike’s protection:
- $92 for fully wrapping the bike
- $64 for wrapping the stays, top tube, down tube, and the back of your seat tube
- $40 for only wrapping the fork
- $32 for wrapping the stays of the inside of your driver seat, the BB and shuttle of your downtube, and the top tube
On the other hand, the InvisiFRAME kit offers the full wrap for about $90.
Installation Cost
If you find the right InvisiFRAME bike wrap for your bike, then you need to know how to install it.
If you don’t know anything about the installation process, you’re in trouble because it may cost you somewhere between $125 to $200 just to get it installed. That is a hefty price to pay.
The same goes for the RideWrap kit. The cost of installation is about $95.
Quality
InvisiFRAME won’t discolor and has some self-healing characteristics. Nicks, abrasions, and scrapes will heal over time. InvisiFRAME adds about 40 grams of weight to your bike, whereas RideWrap adds about 50 grams of weight.
However, RideWrap can guarantee that it won’t discolor or crack for ten years for its frame protection. It also has self-healing characteristics.
Furthermore, RideWrap has low surface energy, which means that grime and dirt don’t stick to it. That means you can easily go on muddier terrains without worrying! InvisiFRAME does (not?) have that feature.
They both will stick to your bike, and the paint won’t come off when you try and remove them from your bike.
Install Process
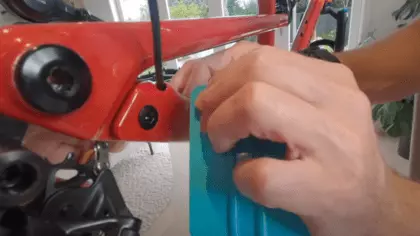
In the cases of both RideWrap and InvisiFRAME, the application is a wet process. This allows for easy positioning as well as getting rid of bubbles. It also means that you can reposition any strips you had mistakenly adhered to your bike within 24 hours before the film sets.
Wrapping a bike is a time-consuming process. If you were to do it yourself, then installing the InvisiFRAME would take about 2 to 3 hours at least, whereas installing RideWrap won’t take more than 2 to 3 hours.
How to Wrap a Bike?
Wrapping a bike isn’t for the impatient. You need a lot of patience if you’ve decided that you’re going to do it yourself. The process of wrapping your bike can take anywhere from 2-6 hours; you must then wait at least two days for everything to stick.
It can be a peaceful process if you do it right. And, when you’re done with it, you’ll find yourself with a newly customized bike frame. Plus, let’s not forget the feeling of accomplishment!
Now, let’s get into the steps of wrapping a bicycle.
You need to keep these things nearby before you get started:
- Sponges
- Soapy water
- Rubbing alcohol
- The wrap of your choice
- Squeegee tool
- Lint-free towels
- Bike tools for disassembling your bike
- Utility or Exacto knife
- Straight edge
- Cloth measuring tape
- Heat gun
Now that you’ve gathered your supplies, it’s time to start your preparations.
Preparations
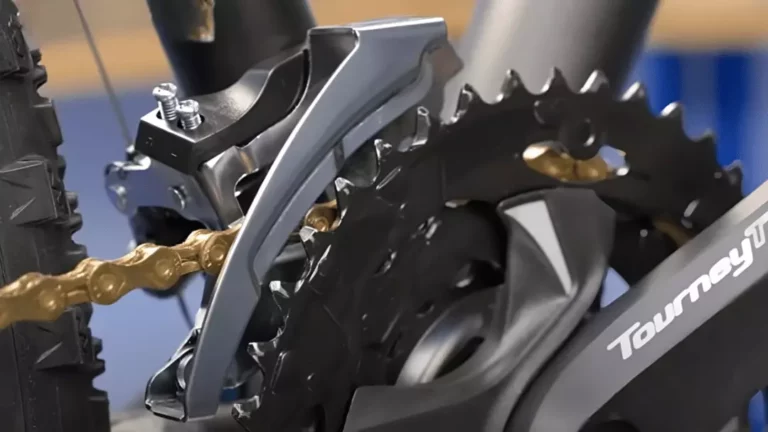
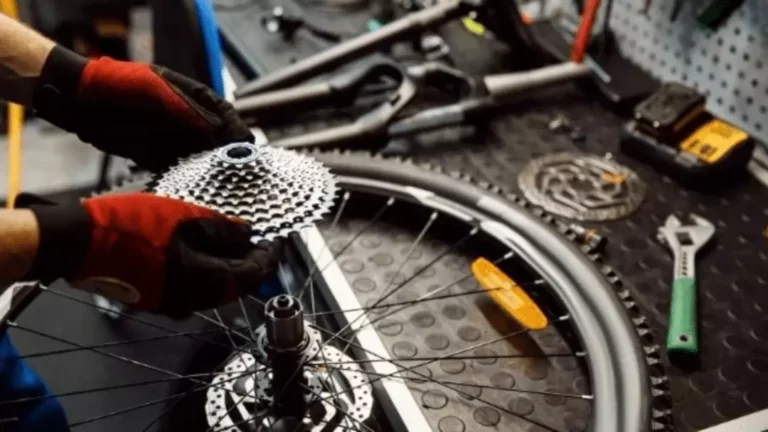
It would be easier to wrap your bike if you were to do it with most of your bike disassembled.
With your front wheel, back wheel, and additional attachments out of the way, while keeping the screws saved, you should start to clean your bike.
Remove any decals or stickers using rubbing alcohol, or you can even use alcohol wipes. Now, start scrubbing your bike using a sponge and soapy water.
You can go ahead a wash your bike at this stage, but it’s not completely necessary to do so. It’s good maintenance for your bike, and a bike clean from grime and grease helps the project.
Measuring
When you measure how much product you need overall, it’s good to make sure that you have more than what you need.
You’ll need enough of the bike wrap to wrap the edges so that you can have something that you can hold onto while you work with your material.
As a methodology, you can add about 3 inches on all sides. By doing so, you can make sure that there’s enough bike wrap left even after any possible mistakes that you might make.
You should take basic measurements that might help you when you’re trying to figure out how much of the bike wrap you need.
You can measure the length and height of the bike’s surface that is going to be covered while measuring an excess of 3 inches.
To settle upon square feet, multiply the two numbers that you have measured together. A bike needs about 40 square feet, generally speaking.
It’s essential that you take enough time to measure as it’s important for the bike rap to be accurate. You can use a cloth measuring tape on this step as it has enough flexibility.
Across and around large curves, it might be hard to wrap your bike wrap onto your bike. So, you should try to use small sections if your bike has a lot of bends instead of trying to wrap those bends with on single big piece.
You might want to consider having some sections that are well-applied with seams instead of having wrinkles and ripples in places.
The Cutting
Now that you have your measurements, you need to decide how you’re going to cut the pieces individually.
Whatever you do, don’t waste any of the bike wraps that you have in haste. They were expensive! If you’re accustomed to stitching, then it’s like laying out the procedures on fabric.
When you start cutting the bike wrap pieces, keep the patterned or ‘right’ side facing downwards. It will be much easier to cut the wrap, and you can mark the backing while keeping the front intact. Make sure you do this on a clean surface.
Here’s a quick tip: mark the individual pieces and label them so that you don’t end up with any mistakes in the future and avoid any possible confusion.
Follow these rules before you start cutting the bike wrap:
- Don’t be content measuring just once. To make sure that you’ve measured it correctly, measure as many times as you want to.
- Measure each piece or section at a time as you make a cut. When you’re done cutting one piece, move on to the next piece and measure before cutting. Doing all the measuring beforehand and then cutting may leave you with pieces that are not accurate.
- Make sure that you’re pressing the bike wrap firmly using your straight edge so that it stays in place.
- Keep a steady hand when cutting.
The Wrapping
Now the frustrations begin. This is when you get the job done. You are ready now that you’ve cut all your pieces to wrap your bike.
It doesn’t really matter where you start to wrap your bike. However, it’s a good idea to start with the largest piece that you have on the straightest areas on your bike so that you get a little practice before you move on to the most dreaded parts.
Using a hairdryer or heat gun at this stage is mandatory. If you use one of these, it’ll smooth the wrinkles out and kind of “shrink-wraps” the bike wrap to the bike.
Tip: don’t pull on or stretch out the bike wrap too much. You might damage it when wrapping, as there could be more wrinkles on the bike wrap.
Furthermore, when applying your bike wrap to your bike, never touch the part where there’s adhesive on the bike wrap, or you might end up contaminating it.
Expect issues when you start applying the bike wrap-around curves. You may need to make small cuts using a utility knife so that the bike wrap will fold enough for you to apply it on the bike.
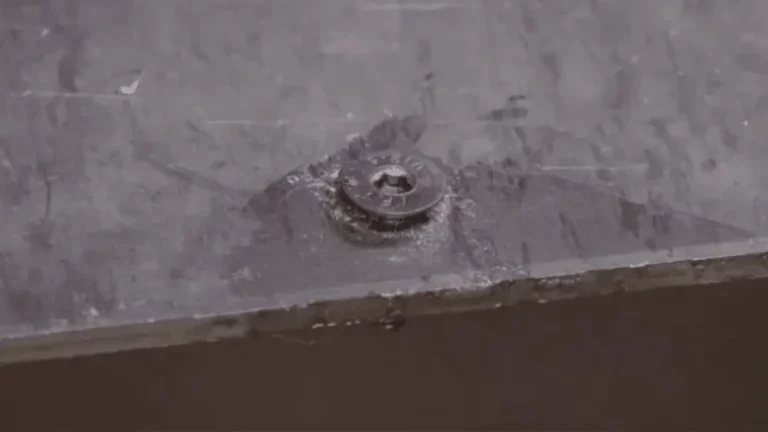
Don’t forget the holes! There are going to be screwed because you disassembled the bike. There are going to be other features as well, which are going to make it even more difficult to wrap your bike properly.
You should either wrap over these areas, trying to flatten the bike wrap as much as you can, or make tiny cuts and then apply the bike wrap around those areas.
A lot of the engineer-grade bike wraps like InvisiFRAME or RideWrap have good warranties, but they don’t cover their use as a bike wrap. You can’t really judge how long the wrap might last.
Now Ride!
The one thing that is left for you to do after wrapping your bike is to go out with your beautiful, well-protected bike. Make your friends jealous while you’re at it!
If you have any of the bike wrap left, you can even try to wrap your helmet with it. You can also wrap your bag, your shoes, or anything else that will match your newly wrapped bike.
Reasons to Wrap Your Bike
There are a few reasons why you should wrap your bike:
Prevents Damage
Mountain biking can be a rough sport. You are destined to crash at least once. So, it’s best if you stay prepared. Bike wraps will give your bike a protective layer against gouges and dents.
It’s an amazing technological feat! A thin layer can save your bike frame from so many impacts by preventing damage and distributing energy.
In some cases, for your bike frame, it can be a matter of life and death. Carbon frames aren’t the only ones that benefit from this frame protection. Even aluminum frames can get trail damage. Any bike can use a bike wrap.
You get protection from bike wraps both off and on the trails with a protection kit. Your bike can get damaged even when they’re being transported from and to the trailhead.
If you’re keeping your bike on a big rack, you are subjecting them to unnecessary damage as well.
The brake lever can rub against the top tubes creating scrapes, and the pedals might bang against the downtube, causing more scrapes. All of this can be avoided if you have the correct protective kit.
Additionally, bikes will knock against each other if they’re transported together. So, get your bike wrapped with either RideWrap or InvisiFRAME. Also, you can buy a tailored protection kit if you want.
Improves the Resale Value
Wrapping the bike doesn’t only prevent damage—it also helps you make money! Bike wraps protect your bike against paint chips and scratches, which makes the bike more appealing to a potential buyer. The better your bike looks, the more money you will be able to get from selling it.
Protects Other Components
A mountain bike doesn’t suffer from just frame damage; it will suffer from damage on other components as well, specifically the suspension forks.
If you have a good suspension fork, then you must know that it’s very expensive. Bike wraps or matte finish can protect your fork from damage as well.
It Is Easy
If you have already read the part where I explain how to wrap your bike, you should know that it can be frustrating, but it’s easy to do with practice.
Some riders get put off by the process, and they’re too scared to get it done by them as they don’t want to ruin their bike or the wrap. But, once you know what you are doing, installation is quite straightforward and super easy.
Final Words
Bike wrapping can look like a daunting task. But, if you were to attempt it, you’d quickly learn that it’s actually very easy to do. You don’t need to pay more just to get it installed.
But now that you’ve decided that you’re going to wrap your new bike yourself, the question arises: which one should you choose between InvisiFRAME vs RideWrap?
I have reviewed both bike wraps and know for a fact that they’re two of the best ones in the market. But I can’t choose; they are both great. It’s up to you now!

Steve Beck is a passionate cyclist and experienced writer covering the cycling industry for over a decade. He has a wealth of knowledge and expertise in all bike-related things, from the latest products and technologies to the best routes and trails. His articles are well-researched, informative, and engaging, and he has a talent for explaining complex cycling concepts in a way that is easy to understand. Steve can be found on the road when he’s not writing about bikes, putting his knowledge and skills to the test.

